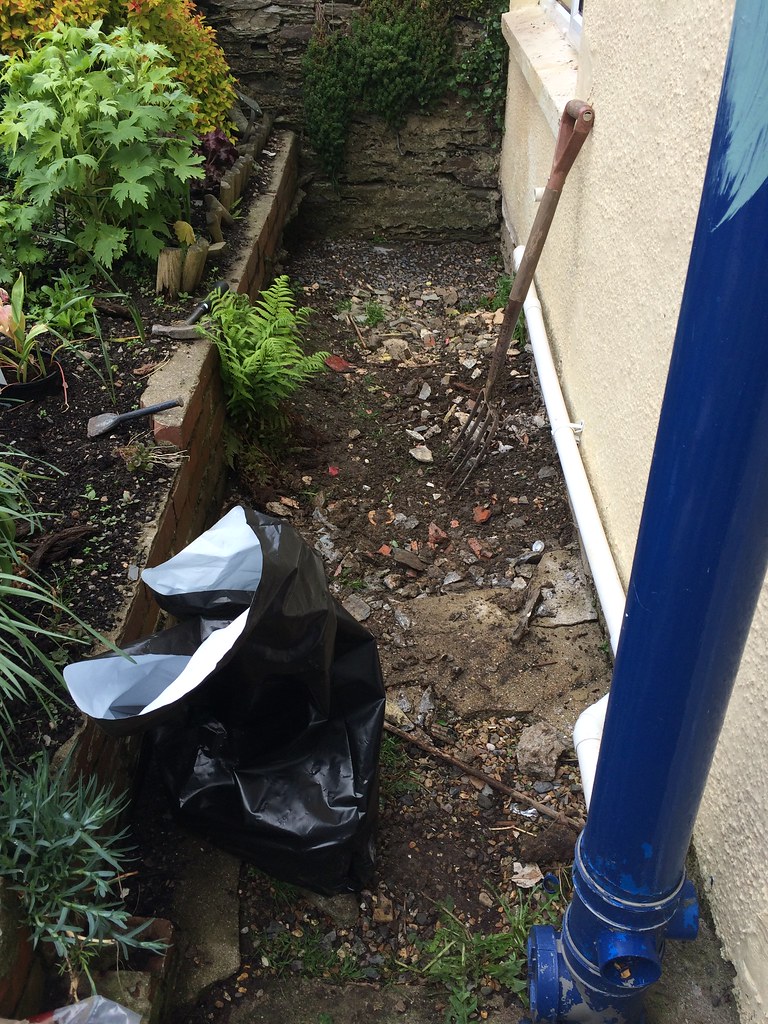
I have hummed and hahhed about doing a patio in the garden to cover the horrible concrete in and in the end I decided that;
1. I was never going to pay anyone the amount it would take to get it done professionally.
2. Anything would be better than how it was.
My only concern was how much would it cost to look a different type of mess
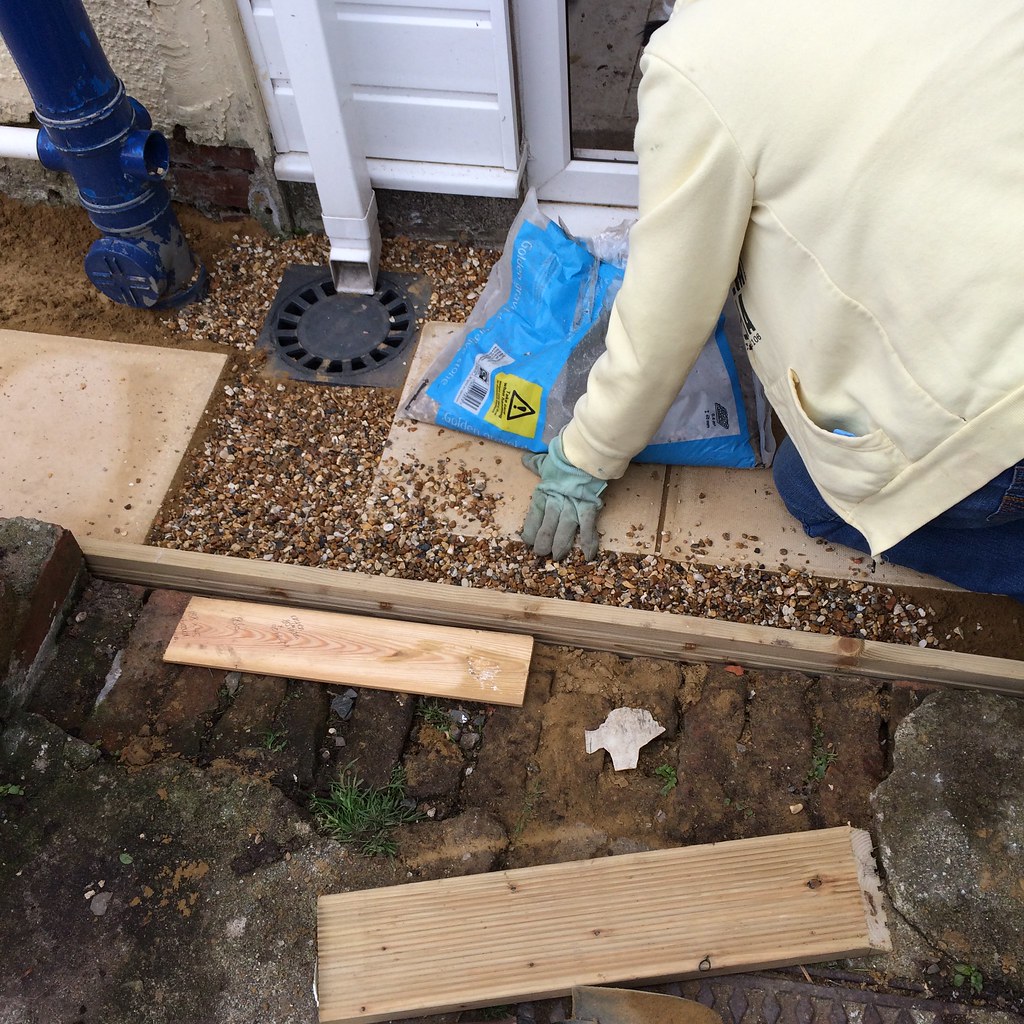
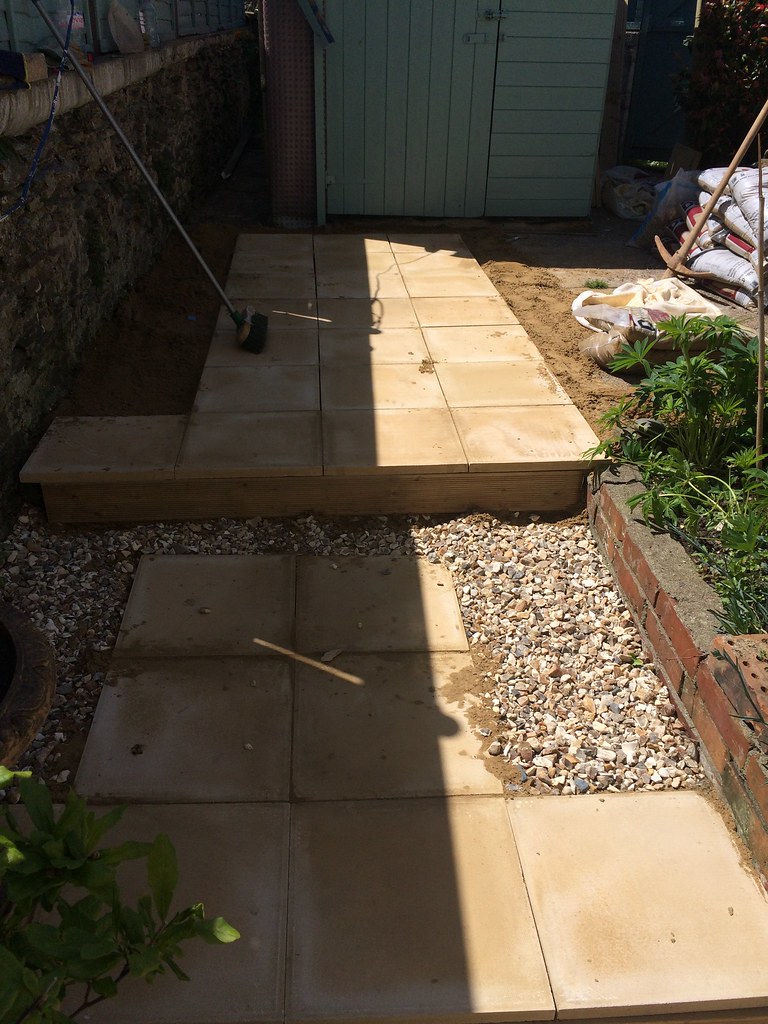
So, after many hours googling and watching youtube and scrolling pinterest, I decided that I could lay the pavers on sand so no need to learn how to mix concrete. I still didn't want to spend a great deal and it not go well so I decided to do the nastiest bit outside the kitchen window as that really could not look worse.
Before:
During:
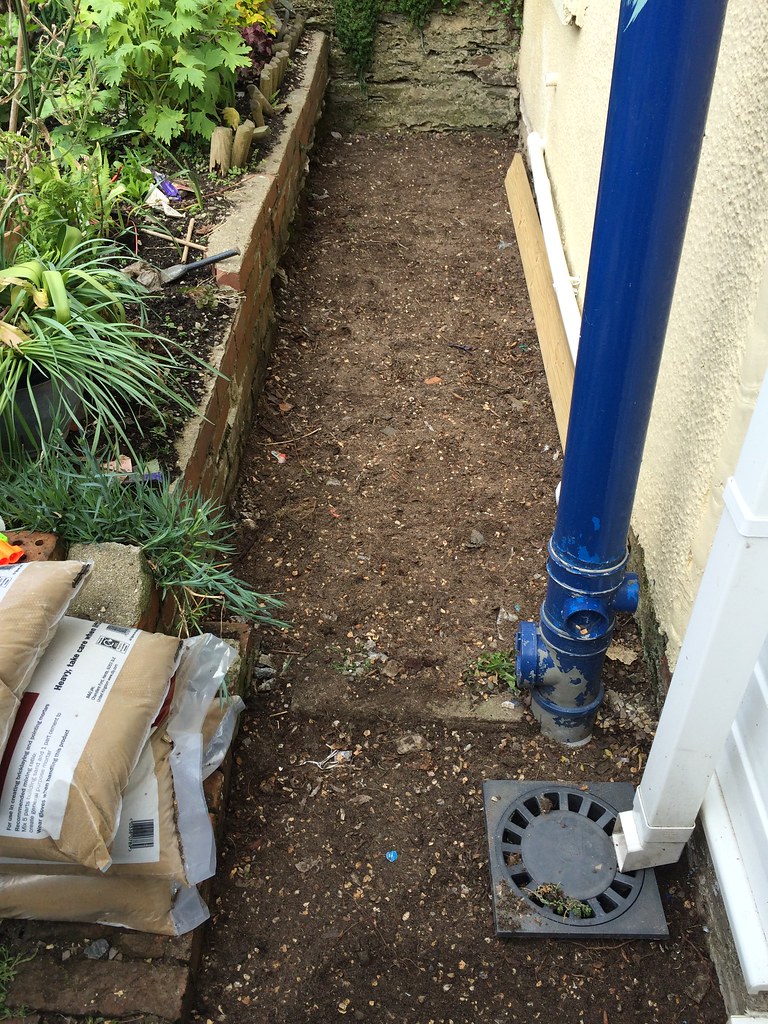
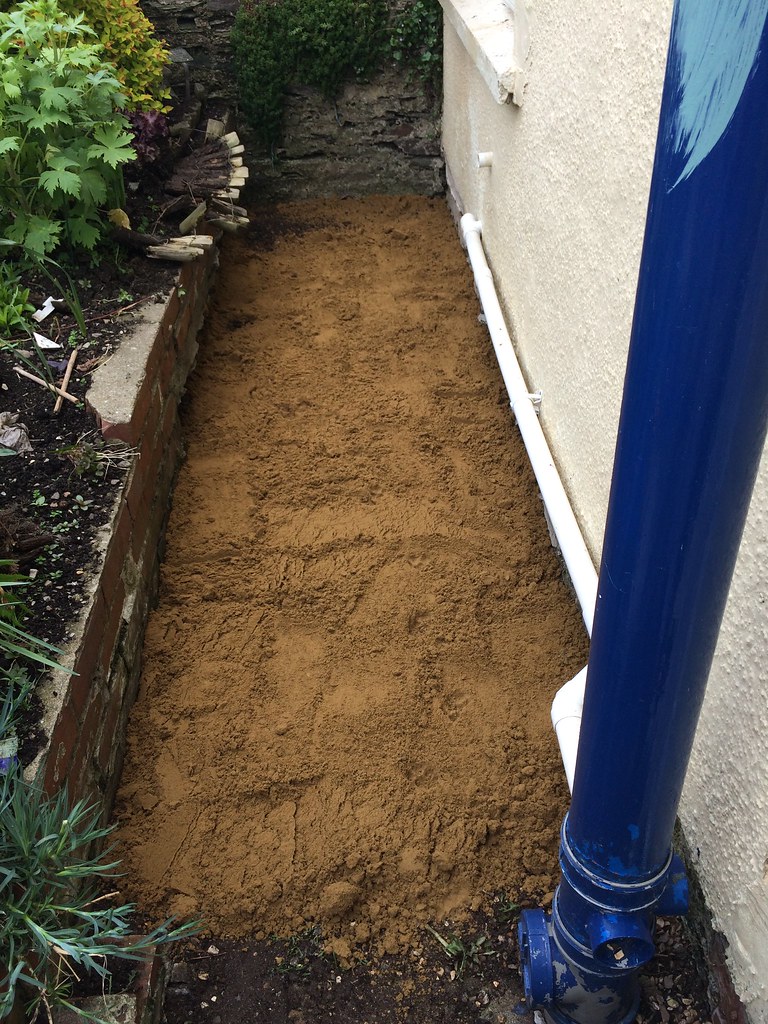
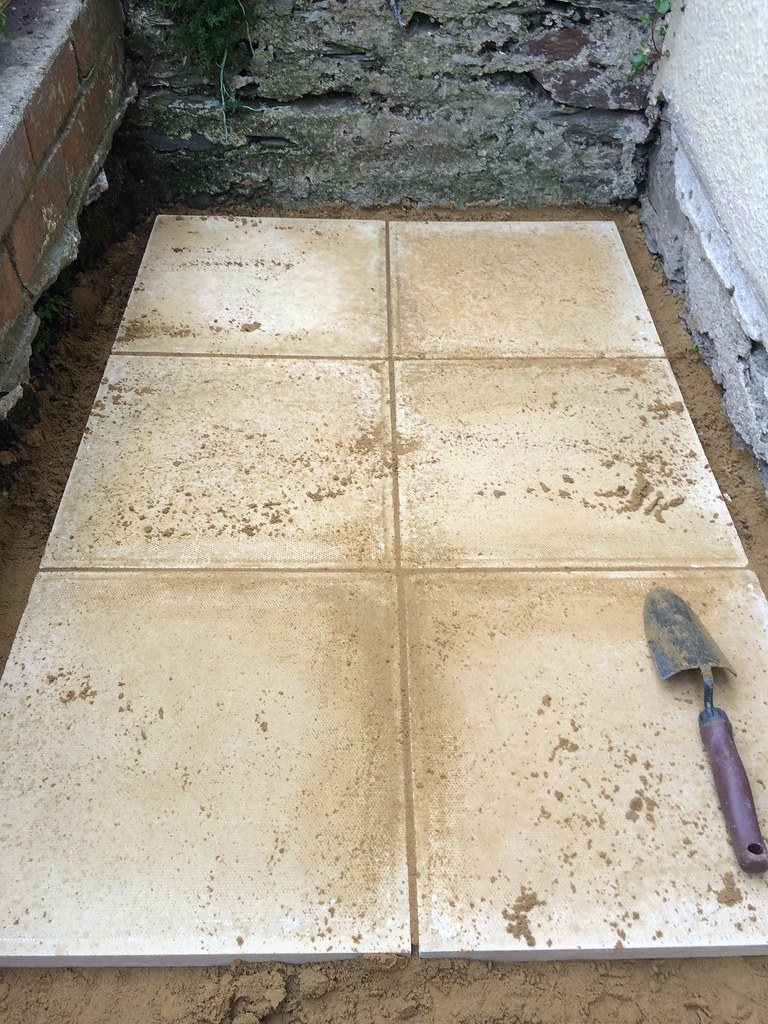

Mum was awesome, lifting and carrying bags of sand and gravel with me, cheering me on and providing many cups of coffee, it was as much her effort as mine
Minty? Not so much help, more getoutofthewayyoustoopidanimal kind of thing
After:
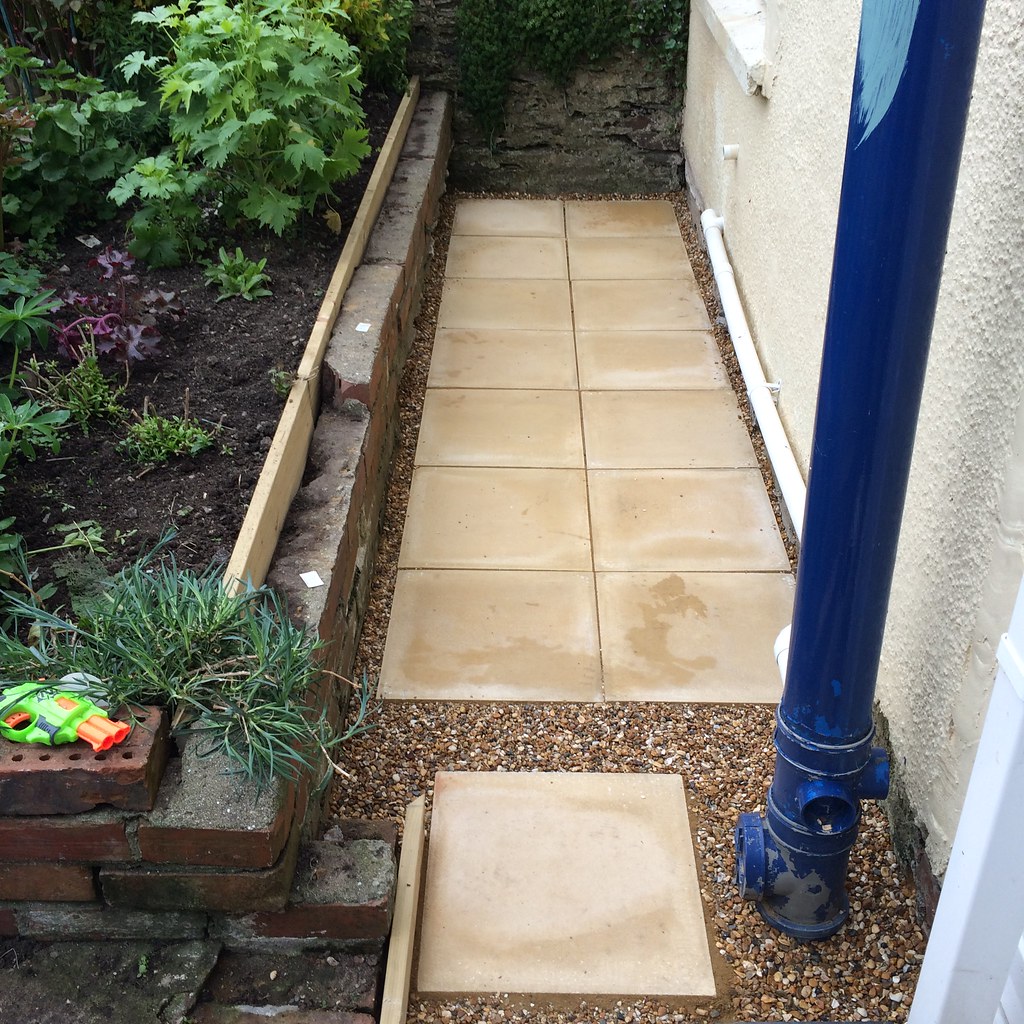
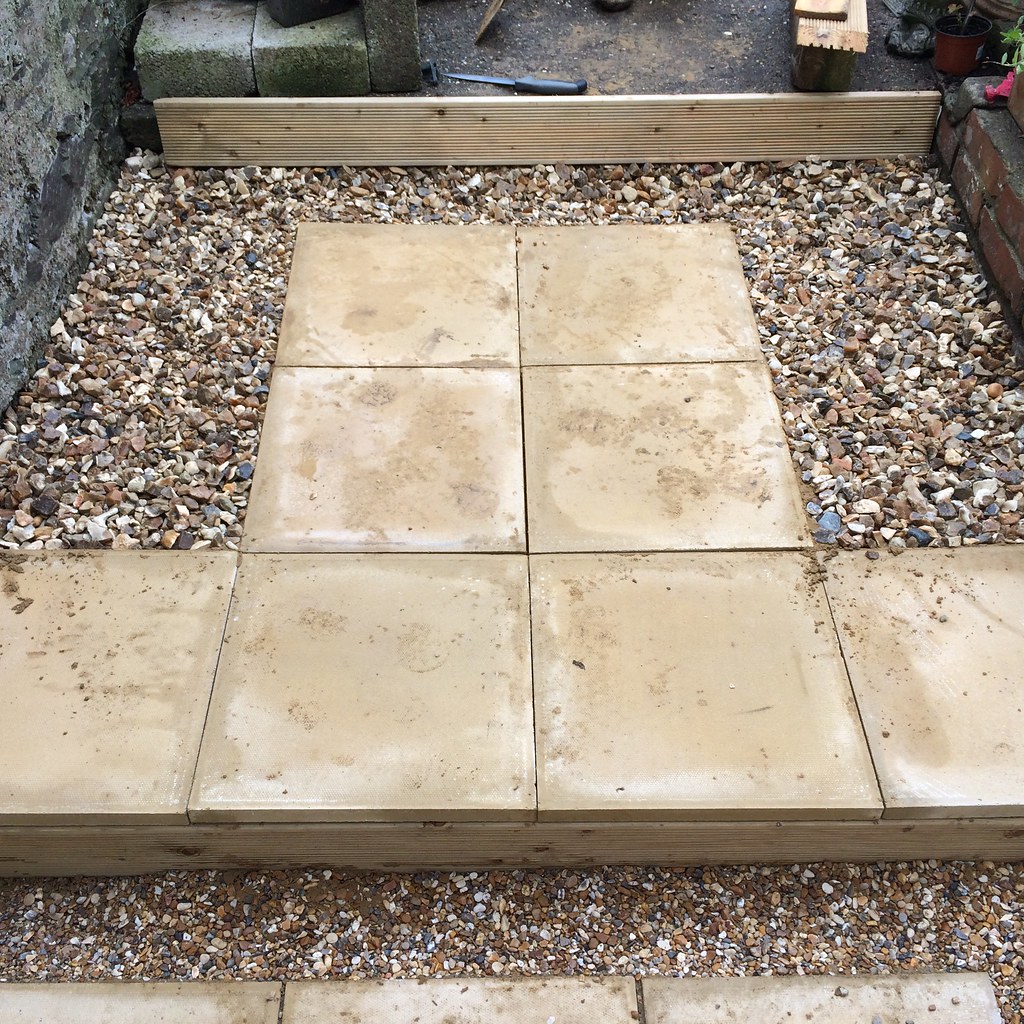
Well we were pleased as punch with it so we went on and got the step done. Then we tackled the main square which we are also thrilled with apart from; I had set the pavers to sit on the top of the decking fascia of the step riser and it didn't really give me as much height as I would have liked to get enough sand to really embed the pavers. I couldn't think what to do (and just wanted it to be done) so kept repeating #betternotperfection to anyone that wasn't running away from me
Of course after I had finished, it came to me that I could have stacked two pavers high to make the riser work and then that would give me plenty of depth for more sand. So guess what we are doing on my next holiday!
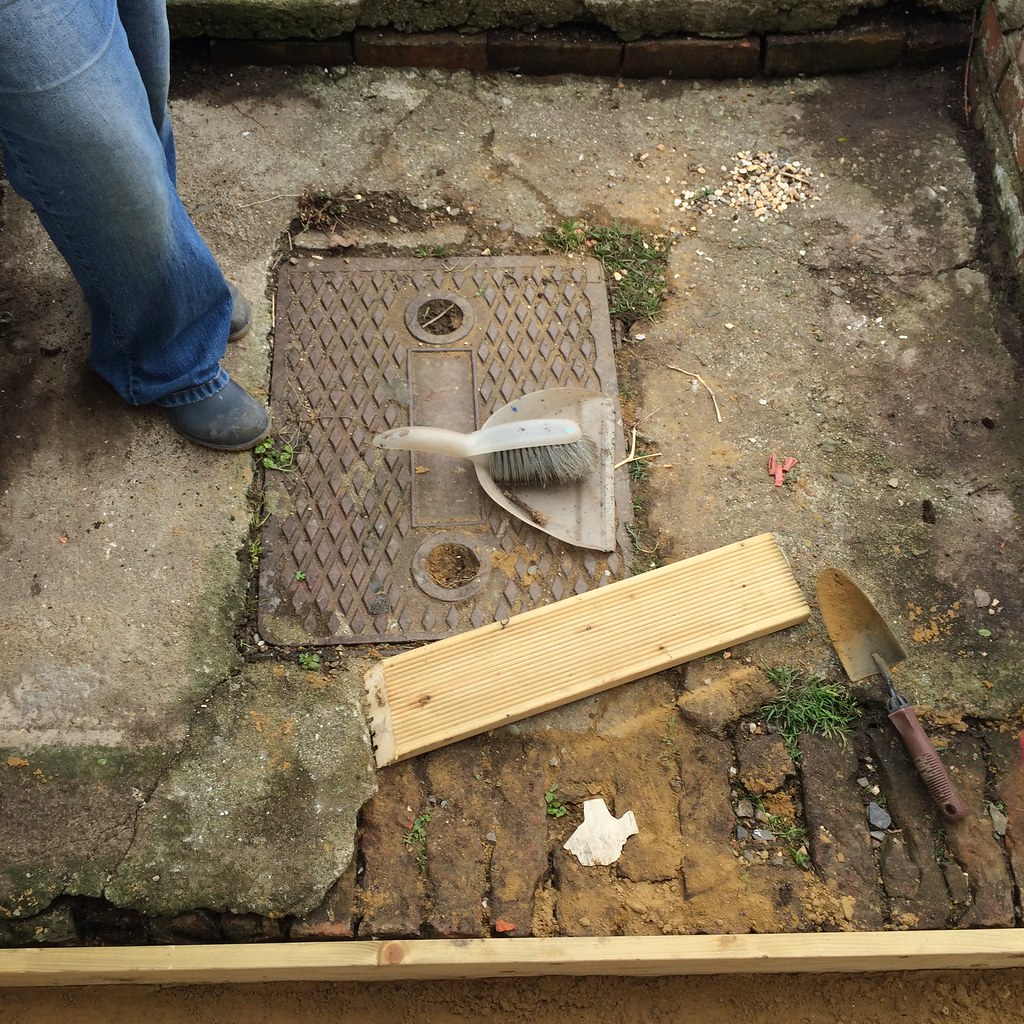
Here is the step:
Before:
After:
The main square. Before:
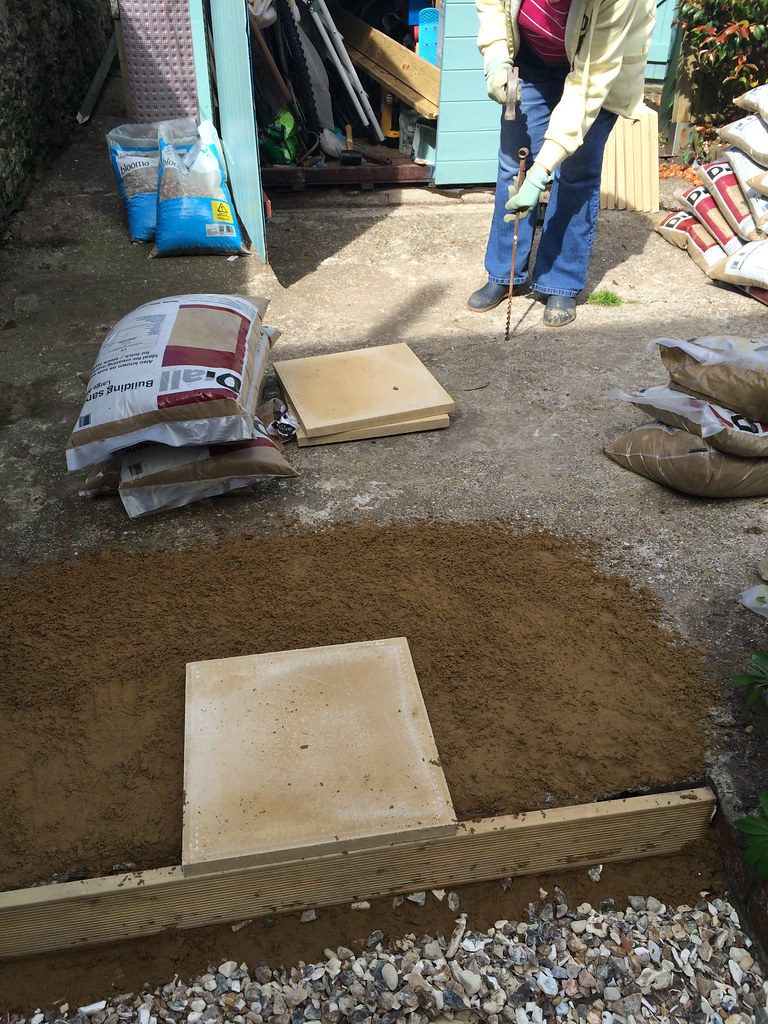
During:
After:
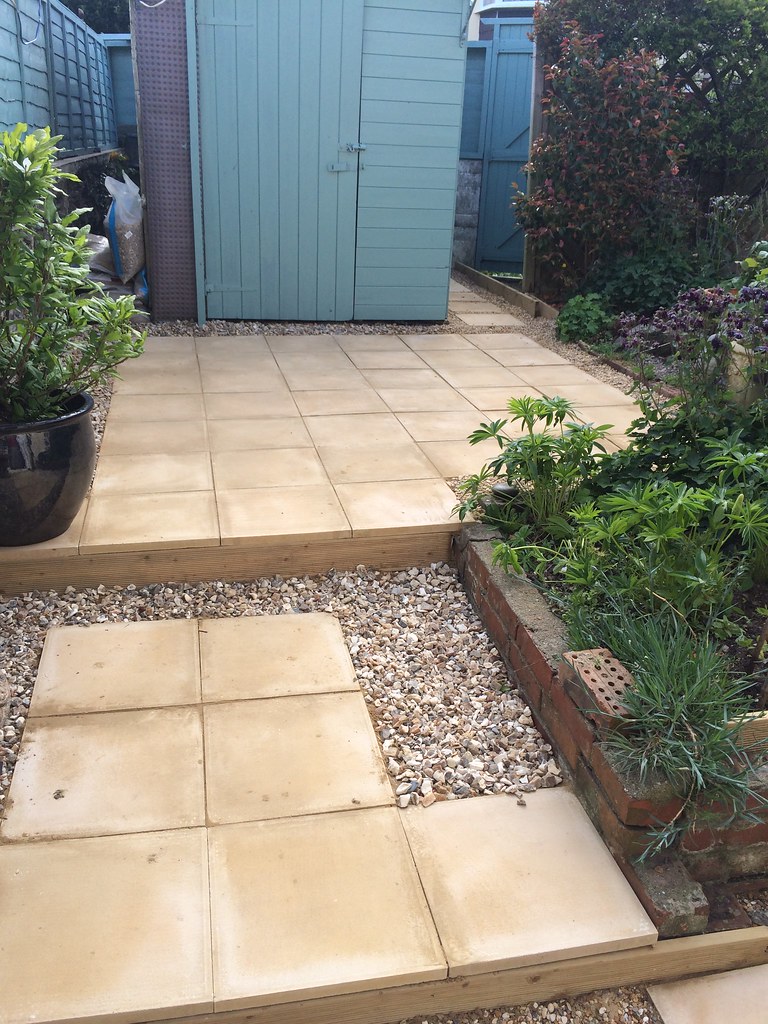
I have a piece in the middle of the flower beds to finish it off and I am researching fire pits (to be lit on the August Bank Holiday according to the summer bucket list) which I would like to have a go at building, so I better get on with it!
There is a large section of flowerbed to take out, an old panel that was screening us from the neighbours that the pyracanthus has overtaken, that is all coming out and I think we are going to choose a tree instead.
I have also decided to build myself a small allotment out in the back lane, it is just where we wheel our bins back and forth and there is plenty of room, no-one has complained about us planting flowers out there so next year I am going to make myself a very small vegetable plot, which no doubt will not produce anything but I fancy having a go.
Anyway I think it is better, it isn't perfection but we all like it so I am calling it a win and is another tick on the diy checklist.
Which is also good as things keep getting added to it
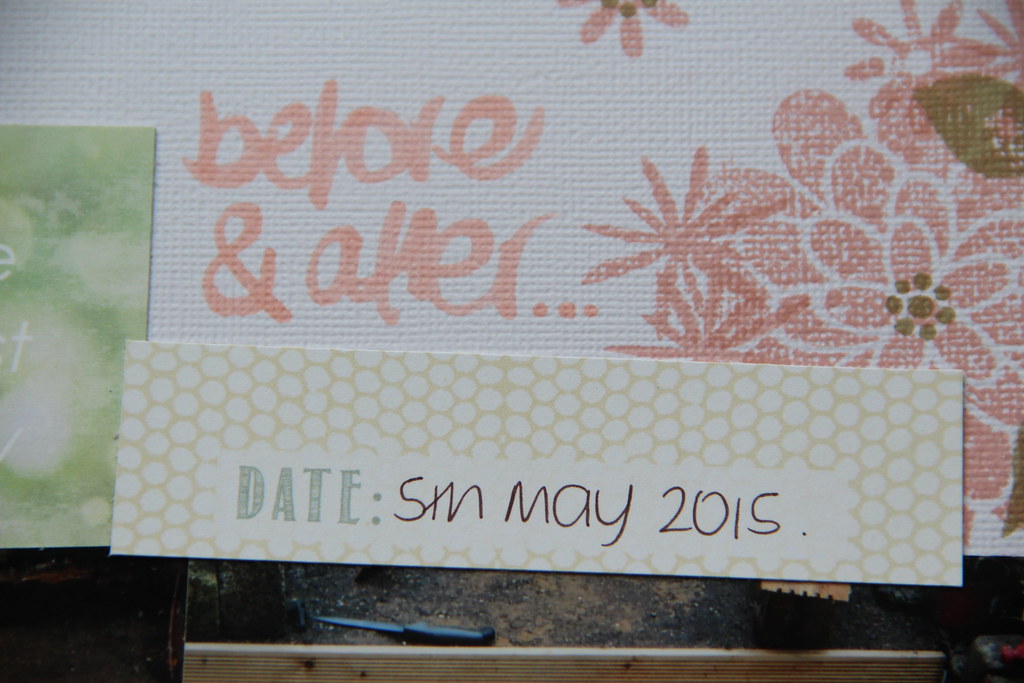
Here are the scrapbook pages I made (I know, scraping the barrel to find things to scrap these days since the kids won't allow me to take many photos!).
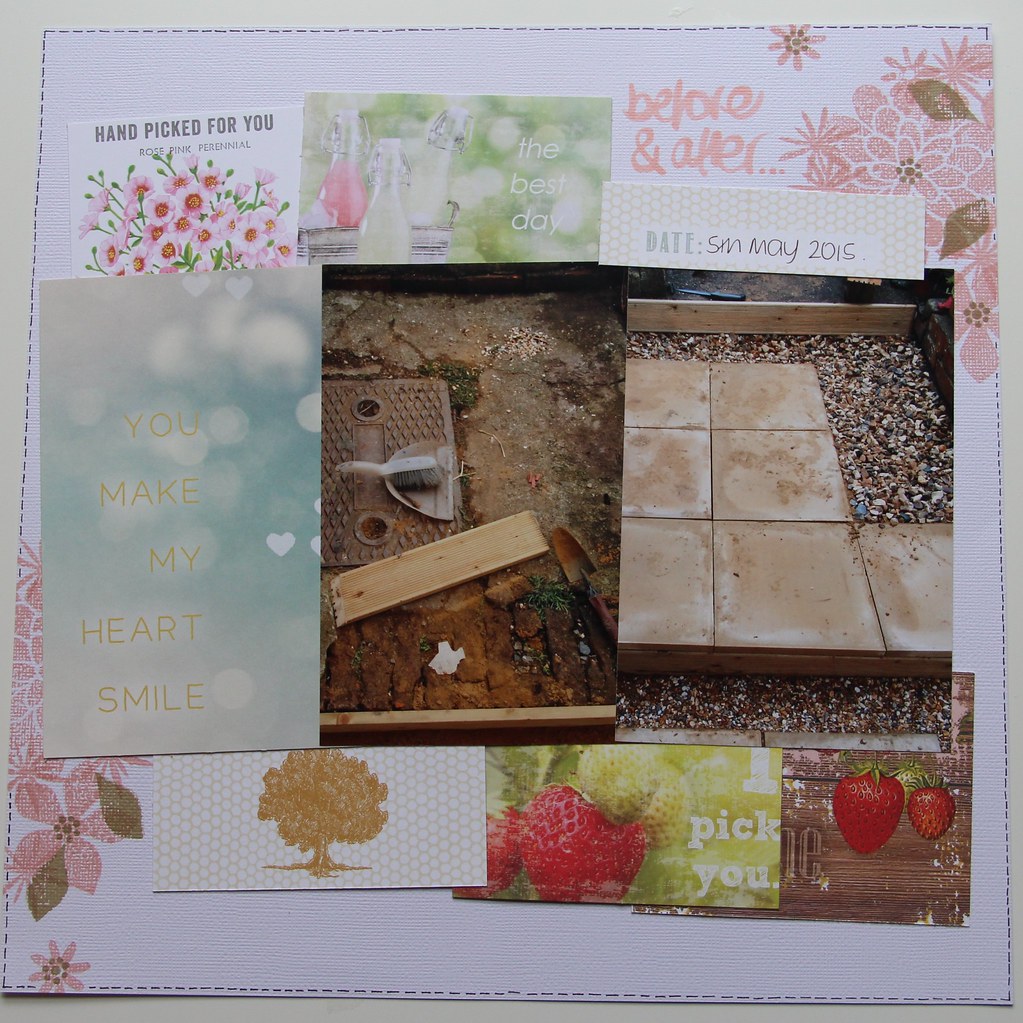
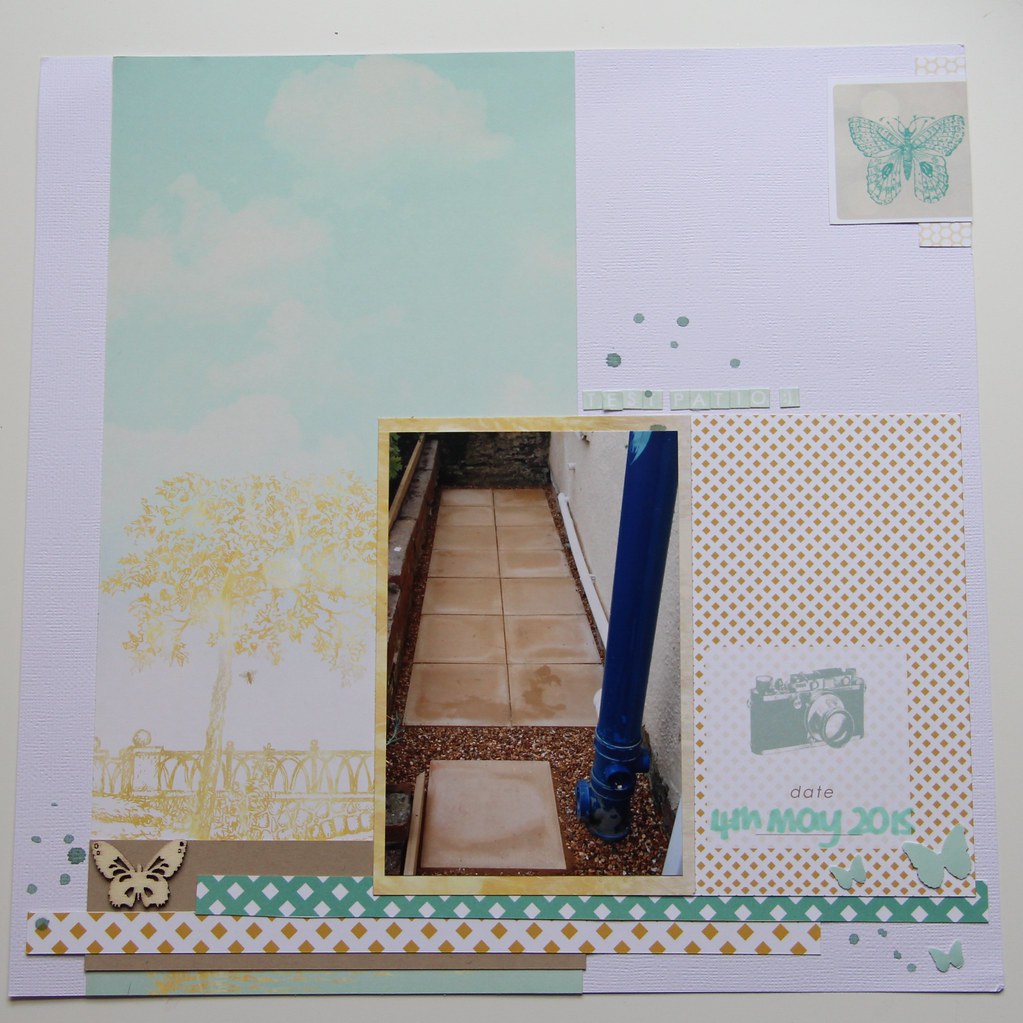
I was pleased with how the handwritten title came out, I only practiced it about 20 times! Easy to do in future when all the alphas have been taken. Actually that reminds me, I made some thickers for a project, I must show you, they were time consuming but worth it for the project.
Thanks for looking, if you are still here after all those exciting photos

Fab work Jen!!! xx
ReplyDeleteThanks Sarah :) x
DeleteYou Jen are Wonder Woman! This is amazing!
ReplyDeleteSue x
Ha ha, you know better than that :D Thanks though, I am pretty pleased with it! x
DeleteFab title, keep meaning to try a handwritten title myself.
ReplyDeleteThank you :-)
DeleteWow - I am so impressed . It looks Wonderful - Come do mine :)The scrap pages are fab too - love it all!
ReplyDeleteThank you, and of course I am available for all types of exterior work :-)
DeleteBrilliant work, looks really good. We covered our yard with pebbles when we moved in and it's amazing the difference it makes! Lovely layouts too, I love the handwritten title, it looks beautiful.
ReplyDeleteThanks for visiting my blog - glad I could help with the traditional scrapbook (and sorry bank balance!)
Jules x
The pebbles are my favourite bit I think!
DeleteThanks for commenting and good luck with your scrapbook, I look forward to seeing more.
Oh Jen, you write so nicely, and I am so so proud of you for doing this, you have done so well and the reward is that it looks fabulous. Lovely page you've made too, but the patio itself is the triumph.
ReplyDeleteThank you Maria! I really appreciate it :-) xxx
ReplyDeleteI love the little butterfly and the camera graphic.
ReplyDeleteRinda
Thank you Maria :-) Thanks for coming by.
DeleteI'm definitely still here after those fantastic pictures, giving a huge cheer for a truly excellent job well done. Go you. I think you need to add a little "mason's mark" somewhere for posterity.
ReplyDeleteThank you and Yes! What a great idea to leave my mark, even if it's only for someone to blame :-)
ReplyDelete